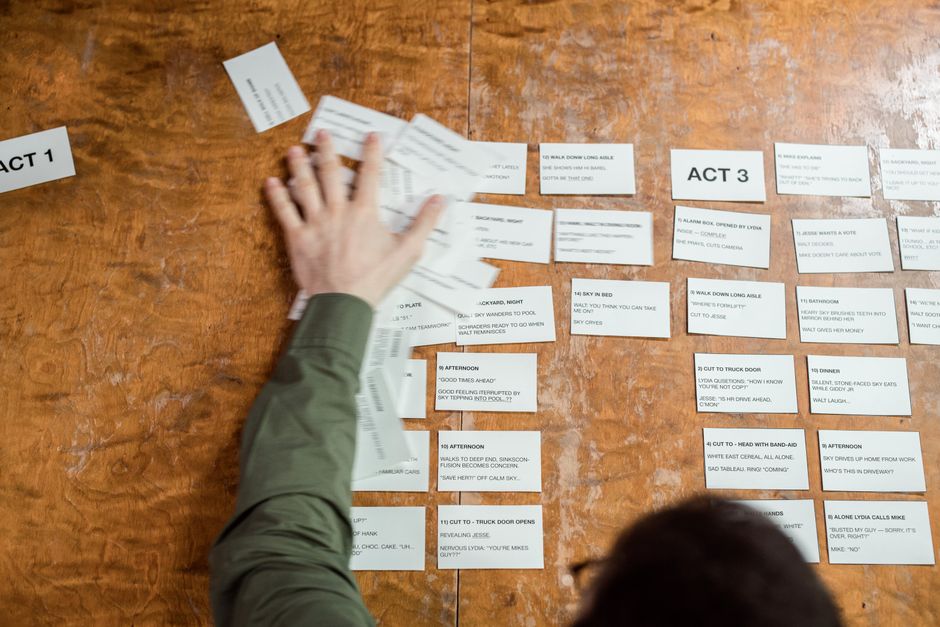
When I first tried to sell a B2B analytics tool, the demo felt like a PowerPoint marathon – investors nodded, but nobody felt the product’s punch. The breakthrough came when I treated the demo like a short film: a clear narrative, visual hooks, and a tight three‑act arc. Below is the exact workflow I use with my team to turn 72 hours into a cinematic demo that sells, using only AI‑generated visuals and a handful of free tools.
Define the Demo Narrative in 4 Hours: Core Message & User Journey
- Identify the target persona and the single pain point you’ll solve. I start with a one‑sentence persona sketch – e.g., “SaaS Ops manager who loses 2 hours a day to manual reporting.”
- Map the user journey onto a three‑act structure (setup, conflict, resolution). Act 1 shows the status‑quo, Act 2 highlights the friction, Act 3 reveals the AI‑driven solution.
- Write a one‑sentence value proposition that anchors every frame. It becomes the visual tagline that appears on each slide.
- Set a measurable success metric (sign‑up rate, time saved, cost reduction) to keep the story outcome‑focused.
Select and Set Up Generative AI Tools for Visual Storyboarding
- Pick an image generator (Midjourney or DALL·E) and a video AI (Runway or Pika) that support style presets. I favor Midjourney for its consistent lighting and Runway for auto‑animate.
- Create a prompt library with tone, color palette, and composition guidelines – e.g., “cool‑blue tech office, shallow depth, cinematic lighting.”
- Configure API keys and a shared Google Drive folder for assets. A single folder eliminates version‑control headaches.
- Run a quick test prompt to verify resolution (1920×1080) and licensing for commercial use; this avoids nasty copyright surprises later.
Sketch the Frame‑by‑Frame Storyboard Using AI‑Assisted Sketches
- Generate thumbnail concepts for each act using concise prompts (“product dashboard, user looks frustrated”).
- Iterate by feeding the AI the previous output and a refinement instruction (“add a glowing success metric overlay”).
- Add annotations for dialogue, UI interactions, and camera moves directly on the thumbnails using Figma’s comment tool.
- Align each frame with the product flow to ensure no step is missing – a quick checklist of “login → data upload → insight reveal” keeps the logic airtight.
Integrate AI‑Generated Assets into a Cohesive Demo Flow
- Import images and short clips into a storyboard tool like Storyboarder or Figma.
- Sync timing with a rough voice‑over script; I allocate 3‑4 seconds per frame for a 90‑second demo.
- Add simple motion effects (zoom, pan) using Runway’s auto‑animate feature – this adds production value without any keyframing.
- Run a quick playback to spot visual gaps or confusing transitions; fix them by tweaking the prompt or swapping a clip.
Rapid Review, Refine, and Deploy in Under 72 Hours
- Schedule a 30‑minute stakeholder walkthrough and capture concrete feedback points (e.g., “color feels too cold”).
- Use AI to generate alternative visual variations for any flagged frame – a single prompt change can produce three fresh options in minutes.
- Finalize the script, record a concise voice‑over (I use a cheap USB mic and Audacity), and stitch everything in DaVinci Resolve’s free tier.
- Export the demo in both high‑res (for investors) and lightweight (for web) formats; embed the high‑res version on your Jason Sherman blog for reference.
This disciplined three‑day workflow lets founders produce a demo that feels professionally storyboarded without ever hiring a film crew.





Leave a Reply